Using a petrological microscope
A petrological microscope is a type of microscope that is specifically designed for the study of rocks and minerals. It is used to examine the physical and chemical properties of rocks, minerals, and other geological specimens.
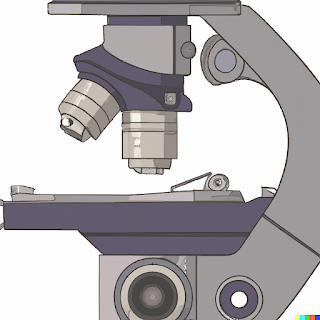
The main components of a petrological microscope include a microscope body, an illumination system, and a variety of objectives and eyepieces. The microscope body holds the objectives and eyepieces and is designed to allow for precise control over the position and focus of the specimen. The illumination system typically consists of a light source and a series of mirrors and lenses that direct light onto the specimen.
Petrological microscopes are equipped with a variety of objectives, including low- and high-power objectives, and specialized objectives for specific applications, such as polarizing, dark field, and differential interference contrast objectives. These objectives allow the user to view the specimen at different magnifications and under different lighting conditions.
The eyepieces are used to observe the specimen and are available in a range of magnifications. Some petrological microscopes also include additional features, such as a stage that can be rotated to change the orientation of the specimen, or a camera port that allows the user to take photographs of the specimen.
Petrological microscopes are widely used in geology, mineralogy, and materials science for a variety of applications, including the study of rock and mineral composition, the identification of minerals, the examination of the texture and structure of rocks and minerals, and the study of mineral inclusions.
Here are the steps for using a petrological microscope:
- Prepare the specimen: Clean the specimen thoroughly to remove any dirt, dust, or other contaminants. If necessary, mount the specimen on a slide to make it easier to observe.
- Turn on the light source: Make sure the light source is turned on and adjusted to the desired brightness level.
- Place the specimen on the stage: Carefully place the specimen on the stage and position it so that it is in the center of the field of view.
- Select the appropriate objective: Depending on the task at hand, choose the appropriate objective lens. For general observation, a low-power objective is usually sufficient, but for more detailed examination, a higher-power objective may be necessary.
- Focus the microscope: Turn the coarse focus knob to bring the specimen into rough focus, then use the fine focus knob to make the image sharp.
- Adjust the lighting: If necessary, adjust the lighting to achieve the desired contrast or to highlight specific features of the specimen.
- Observe the specimen: Use the eyepieces to observe the specimen. Take notes or sketches of what you see, and pay attention to any features or patterns that are visible.
- Change objectives or lighting as needed: If necessary, change the objective lens or adjust the lighting to obtain a better view of the specimen. Repeat steps 5 through 7 as needed.
- Clean the microscope: When you have finished using the microscope, be sure to clean the lens and stage to remove any fingerprints or residue from the specimen.
It is important to follow these steps carefully and to use the microscope in a safe and responsible manner, as the lenses and other components can be easily damaged if not handled properly.


Comments
Post a Comment